
Logic Behind the Operation Interlocks
This guide attempts to clarify the logic underlying the operational interlocks of various switch types, including disconnectors, earth switches, and circuit breakers, within one-and-a-half circuit breaker and double bus single circuit breaker schemes.
It should be noted that this manual should not be used solely to design an interlocking scheme or to compare an already designed interlocking scheme for any differences. The reason being that it is quite possible that a given interlock can be achieved by more than one method.
And the methods discussed in this manual may differ from some schemes.This manual shall only be used to develop and understanding of the necessary conditions that govern the interlocks for switches.
1. What is the One and Half Breaker Scheme?
Consider the Single Line Diagram arrangement shown in Figure-7 .As we can see that there are three circuit breakers: ‘Upper CB’ , ‘Middle CB’ and ‘Lower CB’. And using these breakers, two feeders can be connected to the Bus.
One line feeder going to remote end station and one transformer feeder.

The Transformer feeder can be connected to the Bus by two methods:
- Close ‘Upper CB’
- Close ‘Lower CB and Middle CB’
Similarly the line feeder can also be connected to the Bus by two methods:
- Close ‘Lower CB’
- Close ‘Upper CB and Middle CB’
So we can see that three CBs are used to connect two feeders to the bus inside the substation. In other words , one and half CB per feeder is required in this arrangement. Hence it is called one and half circuit breaker scheme.
2. Interlocks of one and half circuit breaker system
In the last chapter we discussed the general rules for designing interlocks of different types of switches. Here we will see the actual interlocks for each and every switch in the one and half circuit breaker arrangement shown in Figure-1.
All switches are labelled for the same purpose , e.g. DS.1, ES.3. The interlocks are shown in equation for easy understanding.
For easy understanding, we will break down the single line diagram into 6 portions:
- The upper CB and its related disconnectors and earth switches or the ‘Upper portion’.
- The Transformer feeder.
- The middle CB and its related switches or the ‘Middle portion’.
- The line feeder.
- The lower CB and its related disconnectors and earth switches or the ‘Lower portion’.
- Bus Section.
DS.1
TEST = BUS1 ES CLOSE + ES1 CLOSE
SERVICE = BUS1 ES OPEN + ES1 OPEN + ES2 OPEN + UPPER CB OPEN
ES.1
DS1 OPEN + DS2 OPEN
[ve]
Upper CB
TEST = DS1 OPEN + DS2 OPEN
SERVICE = DS1 CLOSE + DS2 CLOSE + SYNCH CHECK OK + CLOSE BLOCK OK + CLOSE AUTH OK
DS.2
TEST = ES2 CLOSE + ES3 CLOSE
SERVICE = ES3 OPEN + ES1 OPEN + ES2 OPEN + UPPER CB OPEN
ES.2
DS1 OPEN + DS2 OPEN
2.1 Case Study- Upper Portion : (DS.1 Service Position Interlock)
As it is described in the previous section , the interlock of DS is with ES and CB. So logically the interlock of DS.1 should exist with all the earth switches and Circuit Breakers that are directly connected to DS.1.
In this case, the service condition of DS.1 should be:
SERVICE = BUS1 ES OPEN + ES1 OPEN + UPPER CB OPEN
But the actual service condition is:
SERVICE = BUS1 ES OPEN + ES1 OPEN + ES 2 OPEN + UPPER CB OPEN
So the question arises that what is the reason to include ‘ ES.2 OPEN’ status in the interlock when the remaining statuses were enough to fulfill the interlock condition. The reason is that , every switch is provided with several auxiliary contacts (Normally open and Normally Closed). These contacts are used wherever the status of the switch is required in the scheme.
Now let’s consider that in the given case, one (52-B) auxiliary contact of Upper CB gets stuck in closed position. This means that its interpreting that the CB is Open. Now even if the CB is closed, this particular contact is giving the status that the CB is open. So if the same faulty auxiliary contact is used in this DS.1 interlock, and the general rule is used to design interlock . i.e.
SERVICE = BUS1 ES OPEN + ES1 OPEN + UPPER CB OPEN
Then DS.1 will be allowed to close only if ‘Bus ES’ and ‘ES.1 ‘are open regardless of CB status. It means that if CB is closed, and ES.2 is also closed , the system will think that CB is open and hence it will allow DS.1 to close the connect the live bus bar to earth.
To cope with this kind of situation, the interlock is made more efficient by including ES.2 open status.
| Title: | A Guide to the Logic Behind the GIS Operation Interlocks – Omer Nawaz Malik |
| Format: | |
| Size: | 5.10 MB |
| Pages: | 117 |
| Download: | Here 🔗 (Get Premium Membership) | Video Courses | Download Updates |
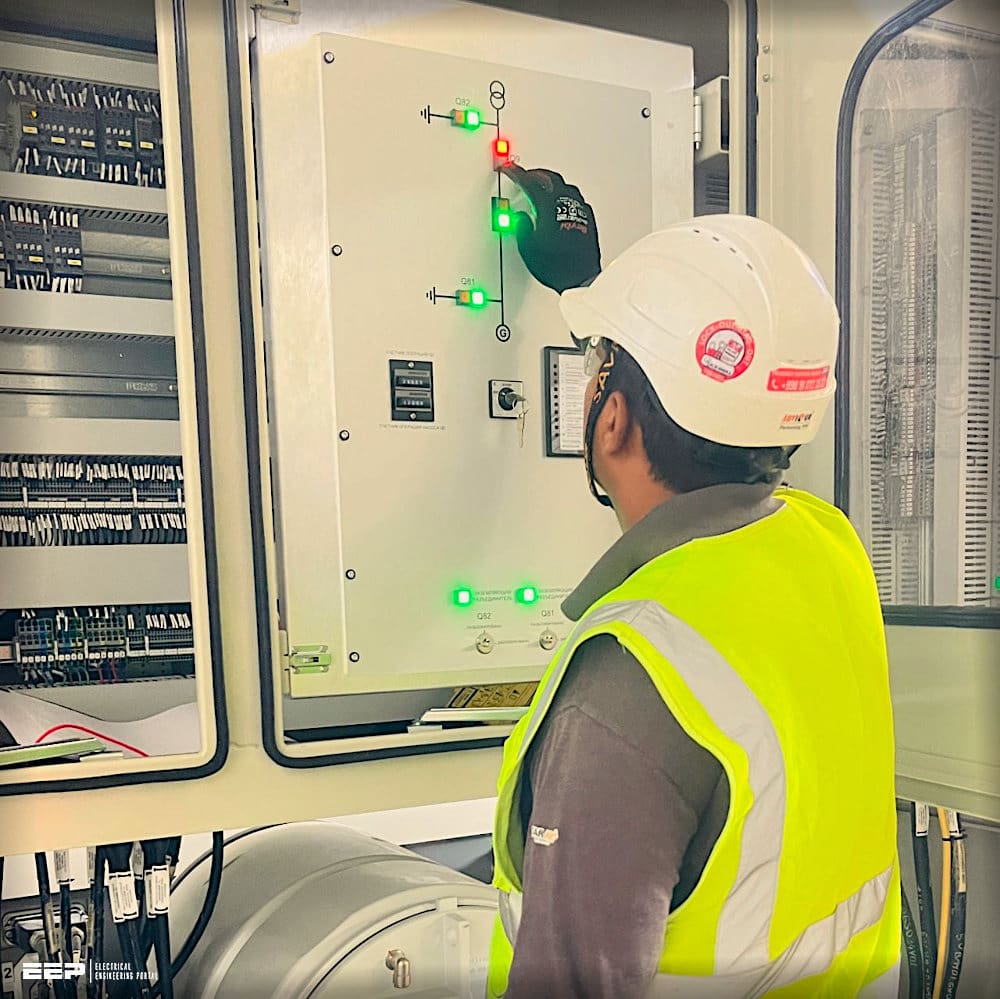
Suggested Study – Learn how to interpret interlocking schemes between MV cubicles (single line and wiring diagrams)
Learn how to interpret interlocking schemes between MV cubicles (single line and wiring diagrams)
