


Estimated Study Time: 24 minutes
Introduction to On-load tests
On-load tests constitute the final activity in the commissioning process of low voltage or medium voltage switchgear. They are carried out immediately after the newly installed equipment is energized from the power system, and they are the definitive tests in verifying that the equipment has been correctly installed, and is satisfactory for commercial operation.
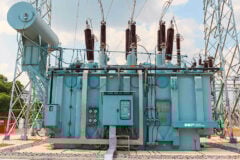
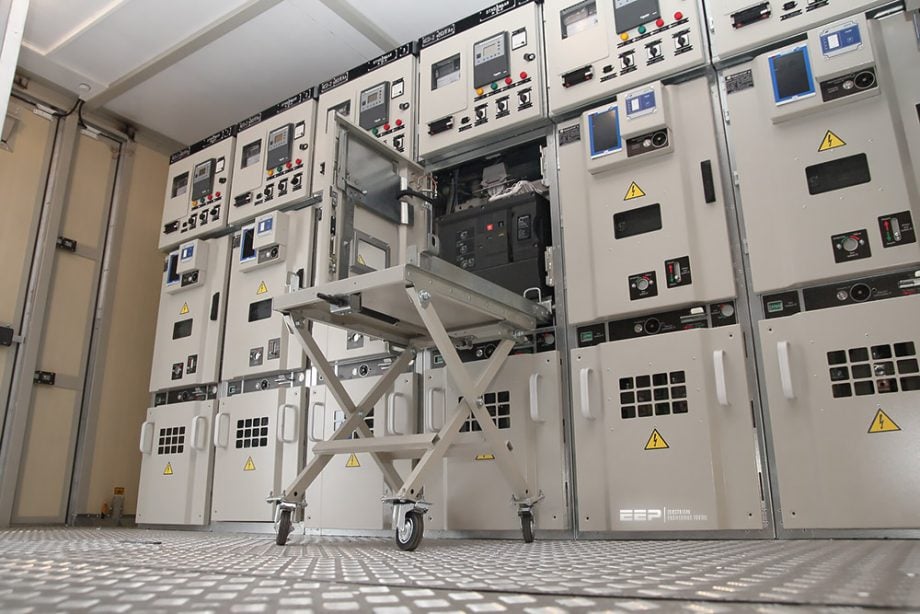 On-load tests you MUST perform during the substation commissioning process (photo credit: elektrum-ng.ru)
- Preparation prior to energization
- Energization
- Soak test
- Energizing a radial circuit
- Phasing via phasing sticks
- Phasing via voltage transformers (VTs)
- Phasing of transformer supplies
- Absence of 3-phase voltage transformer (VT)
- Voltage-reference point
- Synchronising and paralleling supplies
- Metering
- Ratio and polarity of protection current transformers
- Voltage-transformer supplies
- Protection equipment
- Auxiliary supplies
- Load current
- Auto-switching and automatic-voltage-control tests
- Maintenance
1. Preparation prior to energization
Before energizing new equipment, the commissioning panel should prepare a switching procedure that takes full account of all safety, operational and technical requirements. The switching procedure should specify pre-energization checks and precautions, as follows:
Check #1 – All off-load-test documentation should be formally completed. Formal acknowledgement of this should be through the completion of stage 1 of the Acceptance Certificate or a similar type of document.
Check #2 – A final check should be made to ensure that all CT test links are in the service position.
Check #3 – Check that all alarms are reset.
Check #4 – All safety documentation should be cancelled, all earth connections removed and all equipment left in the open or de-energized position. The latter point should be checked both visually and at all local and remote indication boards.
Check #5 – When entering service, all protection systems should be normal and in service. Auto-switching and automatic-voltage-control equipment should be switched out of service. Consideration should be given to the transformer tap position (usually left on nominal tap).
Check #6 – The identity and location of all personnel participating in the on-load tests should be clearly stated.
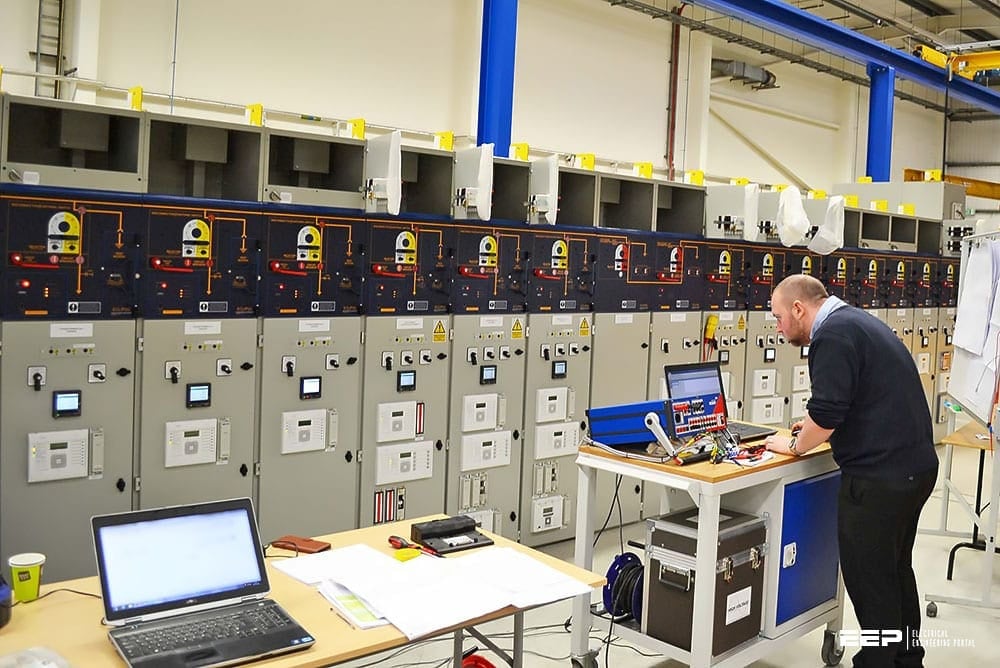
Figure 1 – Commissioning medium voltage switchgear
Go back to the Contents Table ↑
2. Energization
At the time of energizing a new circuit, neither the new circuit breaker nor its associated protection systems are fully proven. It is therefore usual to energize the new circuit from an already proven circuit.
The switching sequence should consist of the following:
- Select the bus-section (or coupler) circuit and the circuit to be commissioned to the same busbar – initially with both circuit breakers open – and with no other circuits selected to that busbar.
- Close the bus-section circuit breaker to energize up to the circuit breaker associated with the circuit to be commissioned.
- Close the circuit breaker on the circuit to be commissioned to energize the circuit.
- Energization is now complete; soak tests and on-load tests can now commence.
When switching, to energize new equipment, the following should be adhered to:
- Ideally, all personnel should be at positions remote from the equipment to be energized, for safety reasons.
- The minimum number of personnel should be located in the control/ switching room. No one carrying out switching desires an audience, unless it’s a politician :)
- Personnel carrying out a switching instruction should read it twice.They must understand what is to be done, and what the implications will be. They should act slowly and deliberately. They should also consider in advance what will be heard or observed on energizing the equipment, e.g. transformer hum, voltages and currents appearing on instruments.
- Once energized, all high-voltage equipment (e.g. circuit breakers, disconnectors, tap changers) should be operated to prove satisfactory operation with the system voltage applied.
Suggested reading – Dos and don’ts in operating LV/MV equipment
Dos and don’ts in operating LV/MV circuit breakers, relays, disconnectors and fuses
Go back to the Contents Table ↑
3. Soak test
Soak testing consists of leaving the new equipment energized from the system voltage for a period of time, before it is subject to load current This is to observe that the equipment suffers no distress when subject to the system voltage. A typical soak-test duration for a circuit breaker is about half an hour, and for a transformer, a minimum of two to three hours, to observe that there is no accumulation of gas in the Buchholz.
Note that there is a modern tendency to abbreviate the soak test to a brief visual inspection of the plant.
Suggested reading – Power transformers testing and commissioning at the site
Power transformers testing and commissioning at the site (instructions and precautions)
Go back to the Contents Table ↑
4. Energizing a radial circuit
A typical example of a radial circuit is a 415 V distribution board. Once it has been energized, the only tests necessary are to check the magnitude of all voltages to the neutral and earth, and to each other, and their phase rotation.
Go back to the Contents Table ↑
5. Phasing via phasing sticks
Figure 2 illustrates the case of a new 11 kV distribution circuit A which is to be commissioned onto the busbars at C. Before the remote-end circuit breaker associated with A can be closed, a phasing-check test is required. This can be accomplished with the use of phasing sticks.
These consist of two long insulated probes connected at the base by a conducting bond and fitted with an indicating voltmeter.
Figure 2 – Phasing out using phasing sticks

An operator wearing insulated gloves holds the two sticks, and inserts one up each of the busbar and feeder spouts, respectively, of metal-clad circuit breakers, or across the feeder and busbar connections of open-terminal circuit breakers. Each phase is tested against the other phase. In-phase connections should result in zero volts on the voltmeter, while across-phase connections should indicate 11 kV.
Phasing sticks are generally available for voltages up to 36 kV. Note that they should be proved before and after use using a proving device.
Go back to the Contents Table ↑
6. Phasing via voltage transformers (VTs)
With higher-voltage systems, it is necessary to carry out the phasing test with the use of voltage transformers. This consists of a two-stage process: first to prove the voltage transformer connected to the circuit whose phasing is to be proved, by phasing out against a supply whose phasing is already verified; and secondly to phase out to prove the phasing of the circuit under consideration.
Figure 3 – Phasing test via voltage transformers (VTs)

Figure 3 gives an example for the instance of circuit A requiring to be commissioned:
Step #1 – Starting conditions are with circuit breakers A1 and A2 both open, and an existing circuit B energized and in service.
Step #2 – Circuit breaker A2 should be closed, thus energizing feeder A from feeder B.
Step #3 – Phasing tests should be carried out between the VTs on feeders A and B:
- Voltage magnitudes should be verified by measuring the voltage to earth (63.5 V) and between phases (110 V) at each VT box in turn.
- Voltage phase rotation should be verified by applying a phase-rotation meter to each VT box in turn.
- An insulated wire should then be run between the two VT boxes,
- At one end, a voltmeter should be connected between the wire and VT terminals in turn (preferably the VT connected to the in-service circuit to minimise the risk of causing a short circuit on that VT), and at the other end, the wire should be touched onto each VT terminal in turn. For correct phasing, the results matrix shown in Table 1 should then be obtained.
Table 1 – Phasing-test results
| VT A | |||||
| R | Y | B | N | ||
| VT B | R | 0 | 110 | 110 | 63.5 |
| Y | 110 | 0 | 110 | 63.5 | |
| B | 110 | 110 | 0 | 63.5 | |
| N | 63.5 | 63.5 | 63.5 | 0 | |
The purpose of this test is to verify the voltage transformer connected to feeder A, by phasing against a known and proven source of supply (feeder B and the VT connected to B), prior to proving the phasing of the conductors connected to feeder A.
Step #4 – Circuit breaker A2 should now be opened and circuit breaker A1 closed. Phasing tests between the VTs on feeders A and B should then be carried out again, as described in Step #3 above. This test proves the phasing of feeder A’s conductors.
Circuit breaker A2 is now in a position to be closed.
Related electrical guides & articles





Edvard Csanyi
Hi, I'm an electrical engineer, programmer and founder of EEP - Electrical Engineering Portal. I worked twelve years at Schneider Electric in the position of technical support for low- and medium-voltage projects and the design of busbar trunking systems.I'm highly specialized in the design of LV/MV switchgear and low-voltage, high-power busbar trunking (<6300A) in substations, commercial buildings and industry facilities. I'm also a professional in AutoCAD programming.
Profile: Edvard Csanyi